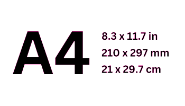
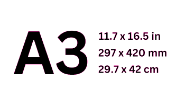
THERE ARE TWO PAPER SIZES AVAILABLE
|
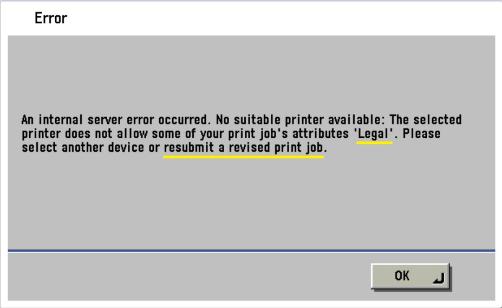
SAVE YOUR DOCUMENT AS THE REQUIRED PAGE SIZE A4 (Standard) OR A3Some non-standard sizes will print on A4 paper but others may generate an error similar to below:
|
|||
Please open a section below to read instructions.
|
SAVE YOUR DOCUMENT AS THE REQUIRED PAGE SIZE A4 (Standard) OR A3Some non-standard sizes will print on A4 paper but others may generate an error similar to below:
|
|||
|
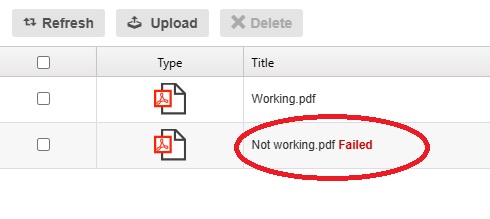
Sometimes running the PDF through a conversion process can fix this problem.
|
|||
* YOU MUST BE CONNECTED TO THE UCD NETWORK TO ACCESS THE LINKS BELOW *
* IF YOU ARE USING WIFI, YOU MUST USE THE EDUROAM NETWORK *
* ALTERNATIVELY, YOU CAN USE THE UCD VPN IF CONNECTING FROM OFF CAMPUS *
TO SET UP YOUR PRINTING ACCOUNT you need to self-register.
(opens in a new window)CLICK HERE to set up your printing account. If you are unable to complete this process, please contact us at (opens in a new window)studentprint@ucd.ie
TO MANAGE YOUR PRINTING ACCOUNT: (opens in a new window)CLICK HERE. This is where you can change your password and access instructions for using the Print Centre and the Mobile Print app
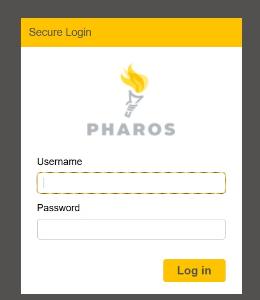
1. Go to (opens in a new window)http://copi.ucd.ie/print in your web browser.
2. Enter your Student / Staff / Visitor number and password and press the 'Log in' button.
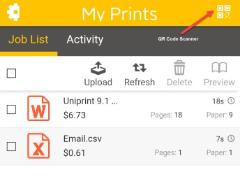
3. Click the 'Upload' button and select the file you want to print.
Acceptable file formats are PDFs, Microsoft Word, Excel and Powerpoint, OpenOffice documents, Images, Text and Visio files.
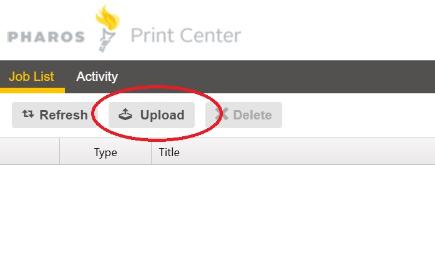
You will see your document appear in the list and a message saying that your document is processing. You may need to click the Refresh button for the document to complete processing.
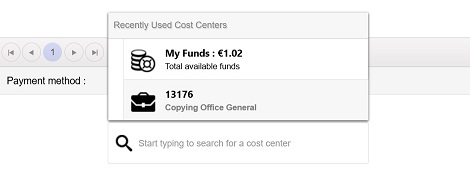
4. If you are associated with a cost centre or research code, you have the option to choose it as a payment option for any selected documents
N.B. PLEASE ENSURE THAT YOU SELECT YOUR COST CENTRE OR RESEARCH CODE TO PREVENT USING FUNDS FROM YOUR PERSONAL ACCOUNT WHEN YOU GO TO RELEASE YOUR DOCUMENT(S)
5. Select one or more uploaded documents and choose your required print options at the bottom-right.

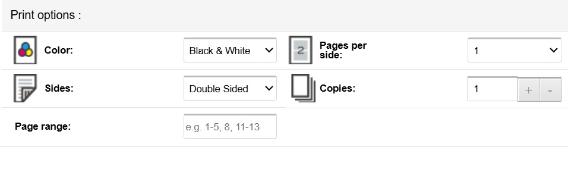
You can now release your document(s) on any self-service printer.
N.B. PLEASE BE AWARE THAT SOME LARGER FILES MAY TAKE BETWEEN 1 AND 5 MINUTES TO START PRINTING AFTER THEY HAVE BEEN RELEASED.
PLEASE BE PATIENT AND WAIT BESIDE THE PRINTER.
6. Click the 'Log out' link under your name at the top right-hand corner to log out of the print centre.
* YOU MUST BE CONNECTED TO THE UCD NETWORK TO ACCESS THE LINKS BELOW AND
THE MOBILE PRINT APP *
* IF YOU ARE USING WIFI, YOU MUST USE THE EDUROAM NETWORK *
* ALTERNATIVELY, YOU CAN USE THE UCD VPN IF CONNECTING FROM OFF CAMPUS *
TO SET UP YOUR PRINTING ACCOUNT you need to self-register.
(opens in a new window)CLICK HERE to set up your printing account. If you are unable to complete this process, please contact us at (opens in a new window)studentprint@ucd.ie
TO MANAGE YOUR PRINTING ACCOUNT: (opens in a new window)CLICK HERE. This is where you can change your password and access instructions for using the Print Centre and the Mobile Print app
The Pharos Print app allows you to easily submit documents from your iOS or Android device. The app includes a QR Code scanner, which can release your print job at your chosen printer just by scanning the QR code on the top of the printer.
You will need a mobile device running either Apple iOS 13.0 or later, or Android OS 6.0 or later. On both devices, you can submit documents to print by using the Open In and Share (iOS) and Open (Android) command.
 |
Pharos Print app |
|---|
1. Download the Pharos Print app from the Apple app store (for iOS devices) or the Google Play app store (for Android devices).
2. Start the Pharos Print app.

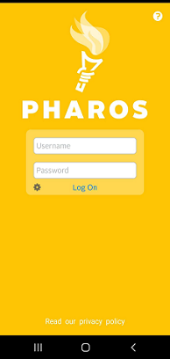
3. Enter the server address pharosmain.ucd.ie and port number 443.
4. Press Connect. The Pharos Print app will connect to the Pharos server and display a log on screen.
5. Enter your Student / Staff / Visitor number and password, and then press Log On. You're now ready to begin using the app.
The Pharos Print app supports the following file formats:

The Pharos Print app allows you to easily release your print job at your chosen printer just by scanning the QR code on the top of the printer. This means that if you forget your Ucard, you can still submit documents to print and release them easily using the Mobile Print app.

N.B. PLEASE BE AWARE THAT SOME LARGER FILES MAY TAKE BETWEEN 1 AND 5 MINUTES TO START PRINTING AFTER THEY HAVE BEEN RELEASED.
PLEASE BE PATIENT AND WAIT BESIDE THE PRINTER.
1. Online, via the SISWeb portal. Click here for this option
2. Using contactless payment at a self-service topup kiosk. The locations are as follows:
Arts J/K Copi-Print / UCard bureau (Newman building, opposite Theatre L)
James Joyce Library entrance (opposite the turnstiles beside the exit for the John Henry Newman [Arts] building)
Richview Library
Smurfit Business School Blackrock in the Oval room, Copi-Print
3. Using cash or card at the Copi-Print bureau.
The bureau is located in the Arts J/K Area (Newman Building)
Download the appropriate installer package and run it. The installer is available here.
Select ‘’Install’’ and then ‘’Finish’’
Select File > Print from your application
Select a printer from the following list:
A4_BW_PRINTER: A4-sized paper in black-and-white.
A4_COLOUR_PRINTER: A4-sized paper in colour.
A3_BW_PRINTER: A3-sized paper in black-and-white.
A3_COLOUR_PRINTER: A3-sized paper in colour.
Press Print
Type in your Student Number in the popup box (this confirms that the job belongs to you and can only be retrieved by your card)
Place your UCard on the reader beside your chosen printer
Highlight your print job(s) on the unit and press Print
If your job fails to print for some reason but the cost of the job is deducted from your account, you should see the job relisted as [Free Print]. This means that you can try printing it again without being charged a second time
To finish press ‘’logoff’’ or “exit’’
Printing for MAC users is only available through the Pharos Print Centre.
Please (opens in a new window)click here to open the Print Centre and log in with your printing account details.
To manage your printing account, please click (opens in a new window)here
Place your UCard on the reader beside your chosen printer
Highlight your print job(s) on the unit and press Print
If your job fails to print for some reason but the cost of the job is deducted from your account, you should see the job relisted as [Free Print]. This means that you can try printing it again without being charged a second time
To finish press ‘’logoff’’ or “exit’’
Log into the (opens in a new window)Pharos Print Centre from your browser
Enter your Printing Account credentials. To manage your printing account, please click (opens in a new window)here
Upload the file(s) you want to print and select the print options you require
Place your UCard on the reader beside your chosen printer
Highlight your print job(s) on the unit and press Print
If your job fails to print for some reason but the cost of the job is deducted from your account, you should see the job relisted as [Free Print]. This means that you can try printing it again without being charged a second time
To finish press ‘’logoff’’ or “exit’’
Place your Student card at the sensor beside the Copi-Print machine
Press the HOME button on the machine
Press the Scan & Send button and type in your e-mail address
Place your original document on the glass (single page) or in the feeder (multiple pages)
Begin scanning by pressing the green START button on the machine
To finish press "logoff" or "exit"
Approach the Copi-Print machine you wish to use
Place your Student card at the sensor beside the machine
Press the COPY button on the display
Place your original document on the glass (single page) or in the feeder (multiple pages)
Make the appropriate selections on the display, e.g. paper size, number of copies, and so on
Begin copying by pressing the green START button on the machine
To finish press "logoff" or "exit"
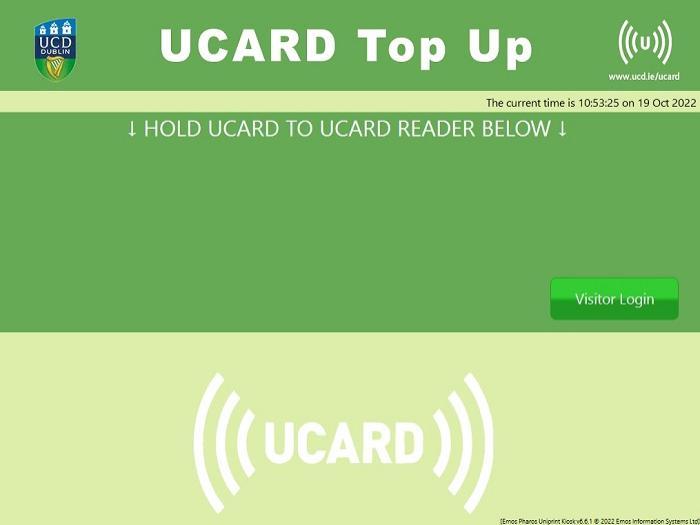
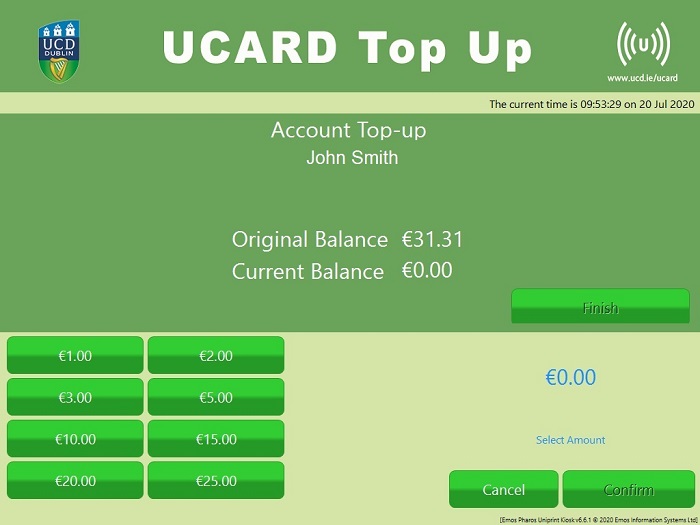
Approach the kiosk and follow the instruction " v HOLD UCARD TO UCARD READER BELOW v "
The UCard reader is directly below the screen, in the centre
You will see your original UCard account balance
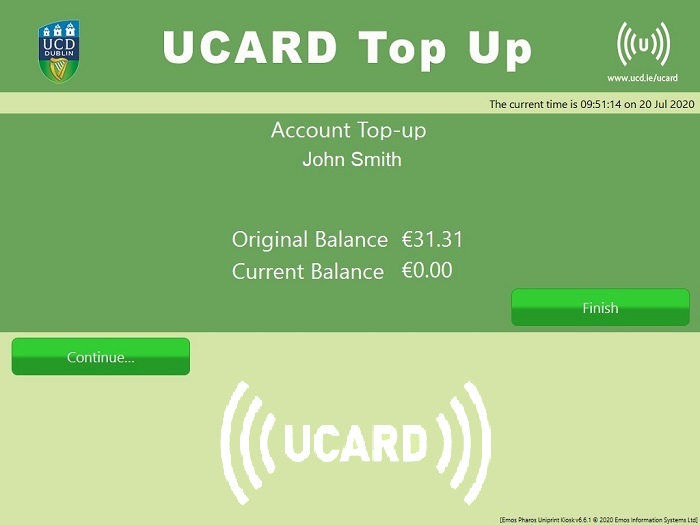
Choose "Continue..." on the display
Select the amount you wish to top up with
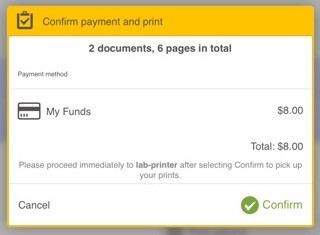
You will see the selected amount at the bottom-right of the display
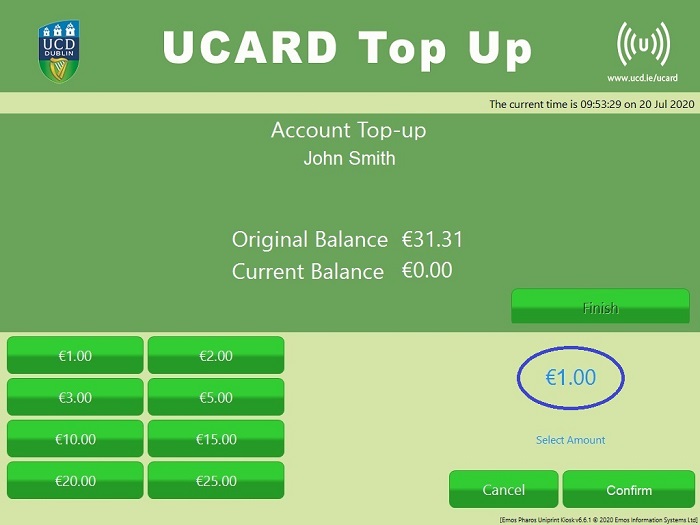
If you wish to top up with this amount, select Confirm
You will then be asked to follow the instructions on the Chip & PIN pad

Tap your contactless payment card on the reader below the screen on the right-hand side. The reader will also accept Google Pay and Apple Pay options
The reader will confirm the amount topped up and the Current Balance on the display will reflect your new balance

Press Finish on the display to log out
| Word Documents are notoriously unstable if opened on a PC different from the one the document was created on. We recommend that you always save the file as a PDF and proof before sending it to print. If you don’t do this and the formatting has changed this is not the fault of the printer but an issue with the original file and therefore your own responsibility. This is especially a problem when printing theses where accuracy is of paramount importance. Always save your files as A4 PDF Documents and proof before sending to print, as you won’t be refunded if you make a mistake. |
|---|
| 1. Select File -> Print in the application you are printing from. *** The recommended file format is PDF ***
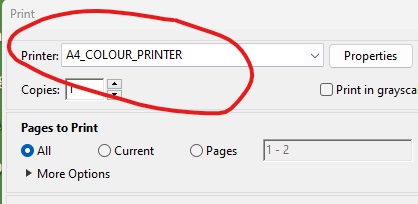
2. If the document contains any colour, choose the
A4
Colour printer from the list
3. Place your student card at the sensor beside the printer
4. Highlight your print job on the printer and press Print
5. To finish press ‘’
logoff’’ or “
exit’’
|
|---|